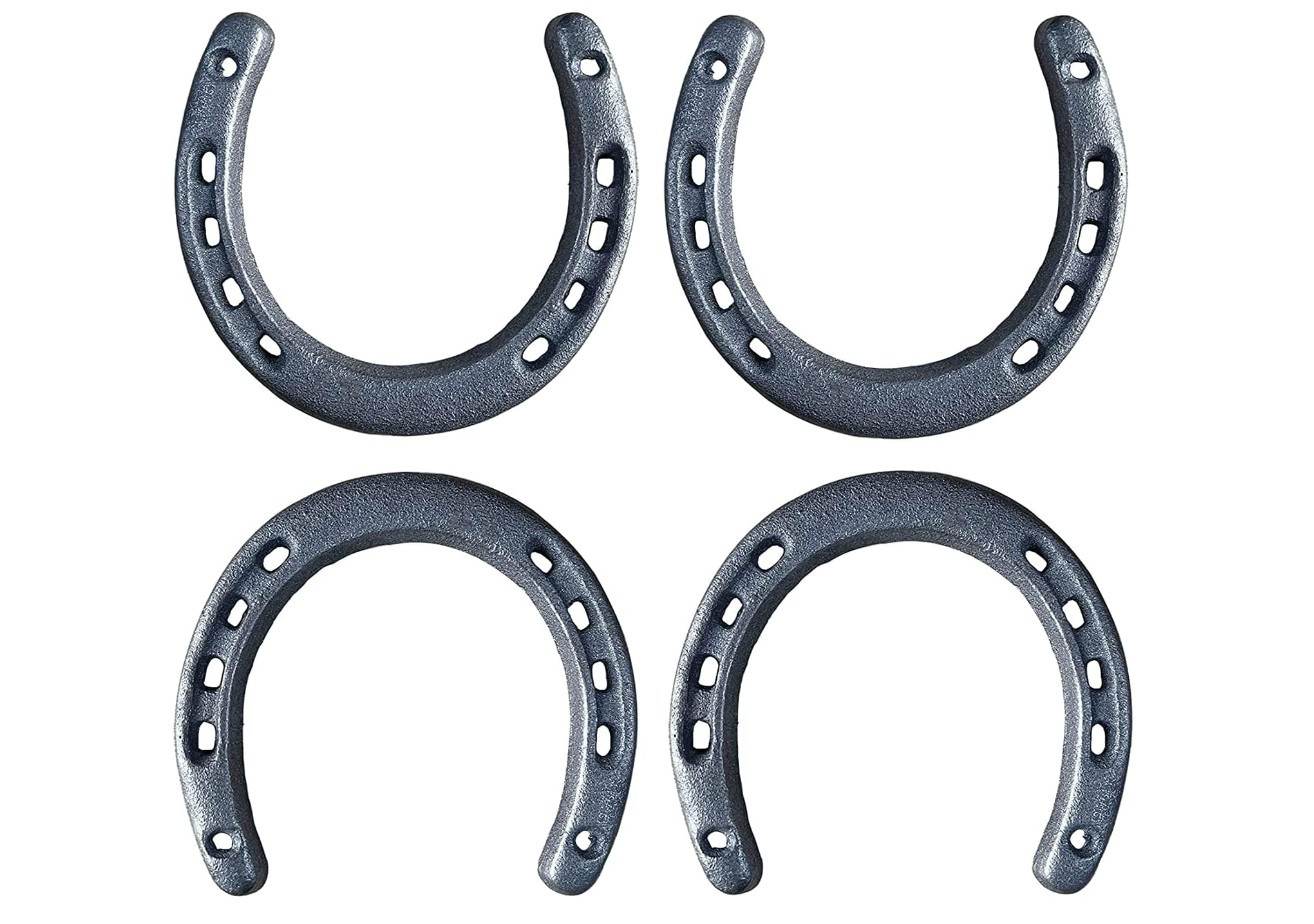
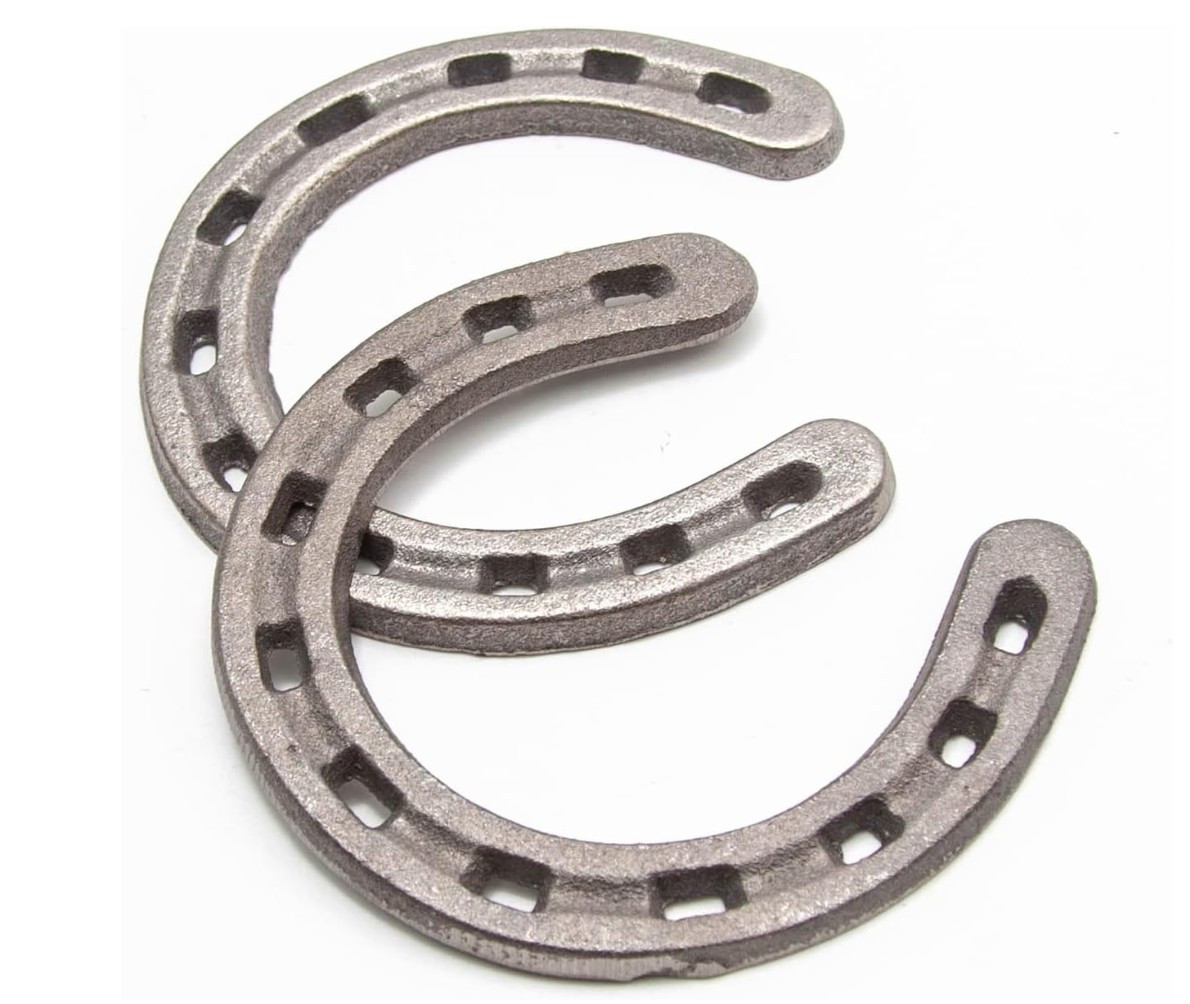
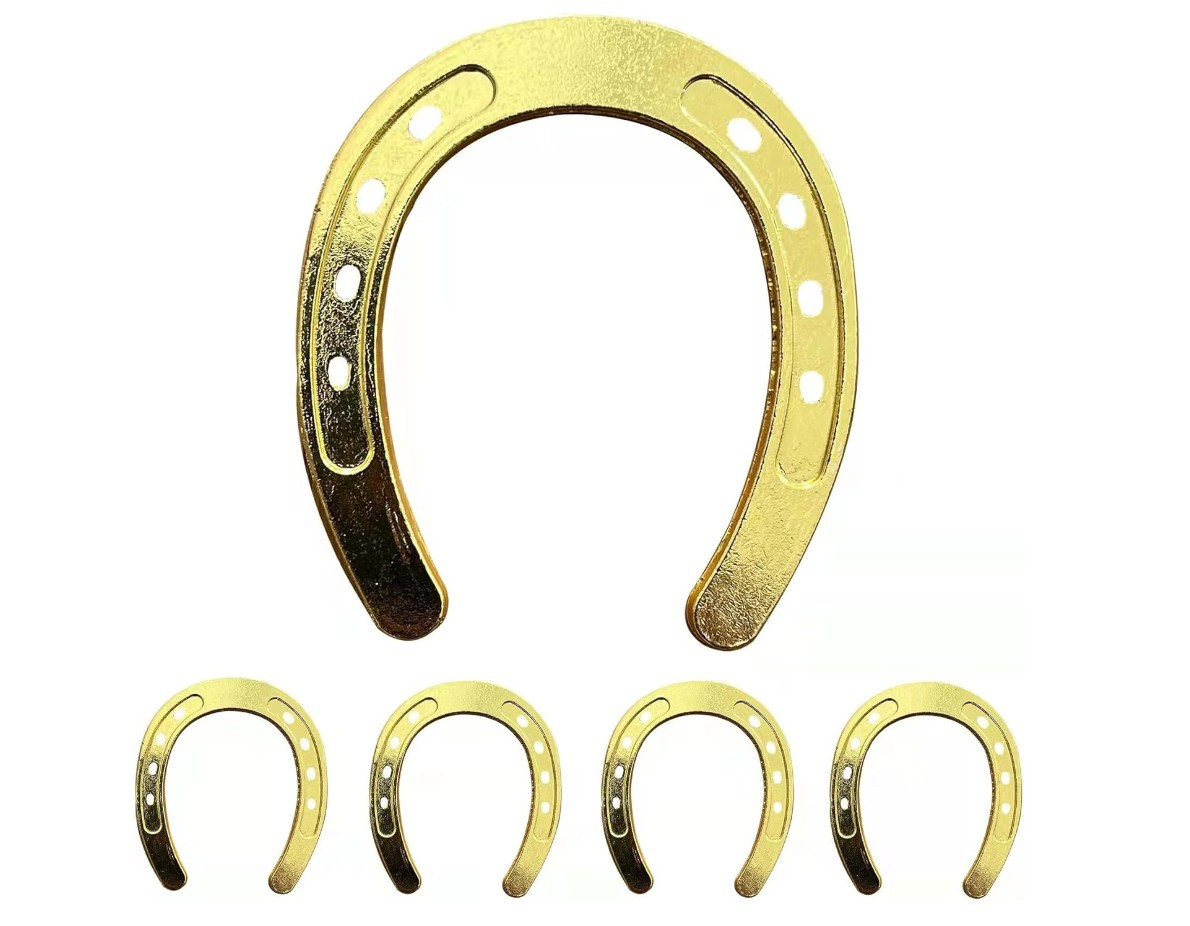
Ever wondered what to do with old horseshoes? Well, you're in for a treat! Horseshoe welding projects are a fun way to turn these rusty bits into cool stuff for your home or yard.
Think about it - horseshoes are tough, they look neat, and they've got that country charm. With a bit of welding know-how, you can make all sorts of things. From simple crosses to fancy tables, the sky's the limit! 
In this guide, we'll show you some novice friendly Horseshoe Welding Projects. So are you ready to turn horse luck into home decor? Let's get welding!
Easy Horseshoe Welding Projects
These projects are perfect for beginners looking to try horseshoe welding projects. They're simple, fun, and don't need much equipment. You'll learn basic welding skills while making cool stuff. Each project uses just a few horseshoes, so you can finish quickly and enjoy your creation!
1. Horseshoe Cross
The horseshoe cross is a popular choice for those new to horseshoe crafts. It's simple yet meaningful, making it a great starting point.
You'll need:
4 horseshoes, welding machine, welding gloves and helmet, wire brush, spray paint (optional)
Steps to create:
1. Clean the horseshoes with a wire brush. Arrange three horseshoes in a cross shape - one upright and two on either side for arms. Place the fourth horseshoe at the bottom, curved side up, as the base.
2. Tack weld the horseshoes together at their contact points. Once you're happy with the arrangement, complete the welds, ensuring they're strong and secure.
3. Let it cool completely. If desired, paint the cross for added personalization. You can experiment with different finishes or add decorative elements for unique Horseshoe Cross ideas.
2. Horseshoe Welcome Sign
A horseshoe welcome sign adds charm to any home entrance. It's slightly more complex than the cross but still manageable for beginners.
You'll need:
5-7 horseshoes, welding machine, welding gloves and helmet, wire brush, metal letters or paint for "Welcome", chain or wire for hanging
Steps to create:
1. Clean all horseshoes and arrange them in a semi-circle or oval shape. Tack weld them together where they touch. Create a base by welding two horseshoes together, curved sides out, and attach it to the bottom of your semi-circle.
2. If using metal letters, weld them onto the horseshoes spelling "Welcome". If painting, let the welded piece cool, then paint "Welcome" on it. Ensure the letters are clear and centered.
3. Attach a chain or wire to the top for hanging. Test the strength of the attachment to ensure it can support the weight of the sign when hung.
Related: 20 Small Welding Projects Ideas
3. Horseshoe Wine Rack
This wine rack is both functional and decorative, showcasing your wines and welding skills.
You'll need:
6-8 horseshoes, a piece of wood for the base, welding machine, welding gloves and helmet, wire brush, screws and drill, wood stain (optional)
Steps to create:
1. Clean the horseshoes and arrange them in pairs, forming U-shapes to cradle wine bottles. Weld each pair together at the top. Space out your horseshoe pairs on the wooden base, marking their positions.
2. Weld small metal tabs to the bottom of each horseshoe pair for attachment. Drill pilot holes in the wood at your marks. If desired, stain the wood and let it dry completely.
3. Screw the horseshoe pairs onto the wooden base, ensuring they're secure and level. Test the stability of the rack with a few wine bottles before finalizing its position.
4. Horseshoe Coat Rack
This practical coat rack adds rustic charm to any entryway or mudroom.
You'll need:
4-6 horseshoes, a piece of wood for the base, welding machine, welding gloves and helmet, wire brush, screws and drill, wood stain (optional)
Steps to create:
1. Clean the horseshoes and decide on their arrangement on the wood. Alternate them facing up and down for variety. Weld small metal tabs to the back of each horseshoe for attaching to the wood.
2. Stain the wood if desired and let it dry. Mark horseshoe positions on the wood and drill pilot holes. Screw the horseshoes onto the wooden base, ensuring they're secure and evenly spaced.
3. Add a sturdy hanging mechanism to the back of the wood. Test the coat rack's strength by hanging a few heavy coats before mounting it permanently.
5. Horseshoe Candle Holder
This charming candle holder adds a cozy, rustic touch to your home decor.
You'll need:
2 horseshoes, small metal plate (for the base), welding machine, welding gloves and helmet, wire brush, candle, heat-resistant paint (optional)
Steps to create:
1. Clean the horseshoes and metal plate thoroughly. Weld the two horseshoes together at the tops, forming a heart shape. Ensure the weld is strong as it will be the main structural point. 
2. Weld the metal plate to the bottom of the horseshoes to create a stable base. Make sure it's level and provides adequate support for the structure.
3. If desired, paint the candle holder with heat-resistant paint and let it dry completely. Place a candle in the center, ensuring it fits securely and doesn't wobble.
6. Horseshoe Picture Frame
A unique way to display your favorite photos with a rustic touch.
You'll need: 4 horseshoes, welding machine, welding gloves and helmet, wire brush, backing board, glass or plexiglass, clips for holding the photo and glass
Steps to create:
1. Clean the horseshoes and arrange them in a square or rectangle shape, with open ends pointing outward. Weld the horseshoes together at meeting points, ensuring strong connections.
2. Cut a backing board and glass to fit inside the frame. Weld small clips to the back of the frame to hold the backing board, photo, and glass in place.
3. Insert your photo, glass, and backing board, securing them with the clips. Check that everything is held firmly in place before displaying your new frame.
7. Horseshoe Towel Ring
A practical and stylish addition to your bathroom or kitchen.
You'll need:
1 large horseshoe, 1 small piece of flat metal, welding machine, welding gloves and helmet, wire brush, screws and drill, wall anchors
Steps to create:
1. Clean the horseshoe thoroughly. Cut a small piece of flat metal for the wall mount and weld it to the back of the horseshoe at the top. Ensure the weld is strong to support hanging weight.
2. Drill holes in the flat metal piece for mounting. If desired, paint the towel ring and let it dry completely. Mark the wall for hanging, using a level for accuracy.
3. Install wall anchors if not mounting to a stud. Screw the towel ring securely to the wall. Test its strength by hanging a wet towel before regular use.
These horseshoe welding projects for beginners offer a great way to practice basic welding skills while creating functional and decorative items. Remember to always prioritize safety when welding and have fun with your creations!
Can You Make Money from Horseshoe Welding Projects?
Absolutely! Horseshoe welding projects can also be a lucrative venture. With a bit of creativity and skill, you can turn old horseshoes into sought-after decorative and functional items that people are willing to pay for. 
One popular way to monetize your horseshoe welding projects is by selling them online. Platforms like Etsy, eBay, or even your own website can be great places to showcase and sell your creations. Many people love the rustic, country charm of horseshoe art and are eager to buy unique pieces for their homes or as gifts.
If you're just starting out, you can begin with DIY horseshoe welding projects. As you improve your skills, you can create more complex and valuable items. Popular sellers include horseshoe crosses, wine racks, coat hooks, and decorative signs. The key is to create high-quality, well-finished products that stand out from mass-produced items.
For those who want to scale up their business without investing in extensive equipment, partnering with expert welders is an excellent option. For instance, you could collaborate with professional fabricators like Capitol Iron Works. These skilled craftsmen can create advanced horseshoe projects that you can then market and sell. This approach allows you to offer a wider range of products, including more complex designs that might be beyond your current skill level.
Remember, pricing is crucial. Factor in the cost of materials, your time, and a profit margin. As your skills improve and your reputation grows, you can increase your prices accordingly. Also, consider offering custom orders – many customers are willing to pay a premium for personalized items.
Takeaway
Horseshoe welding projects offer a unique opportunity to blend creativity with entrepreneurship. Whether you're crafting pieces yourself or partnering with expert welders, there's potential to turn this hobby into a profitable business. The key to success lies in creating quality products, understanding your market, and effectively showcasing your creations.
Start small, perhaps with a few items on Etsy, and grow your business as you gain experience and customer feedback. Don't be afraid to experiment with different designs and marketing strategies. Remember, each horseshoe project you create is not just a piece of art, but a potential source of income.
