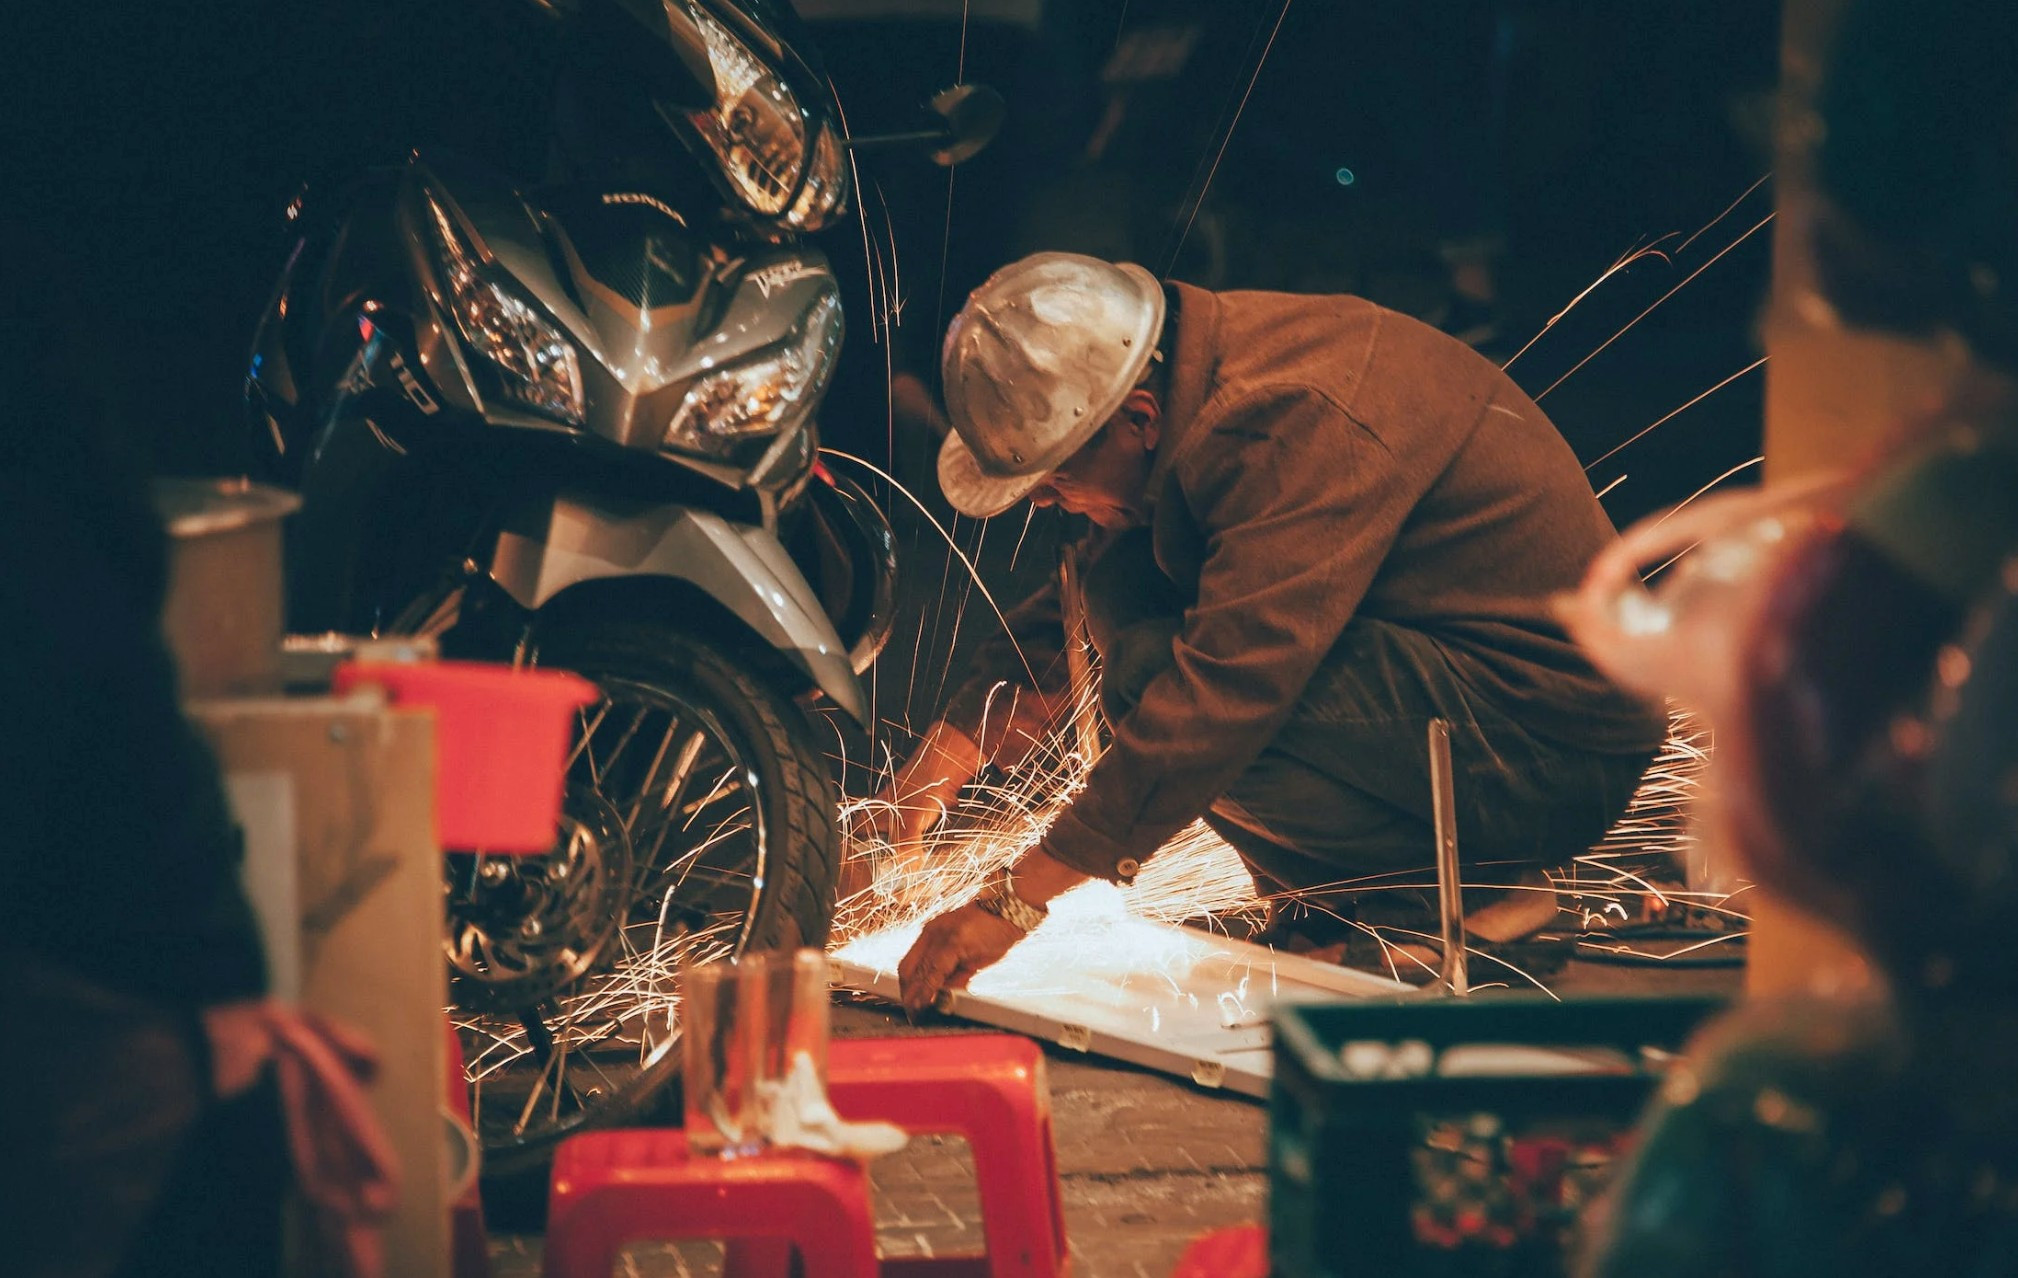
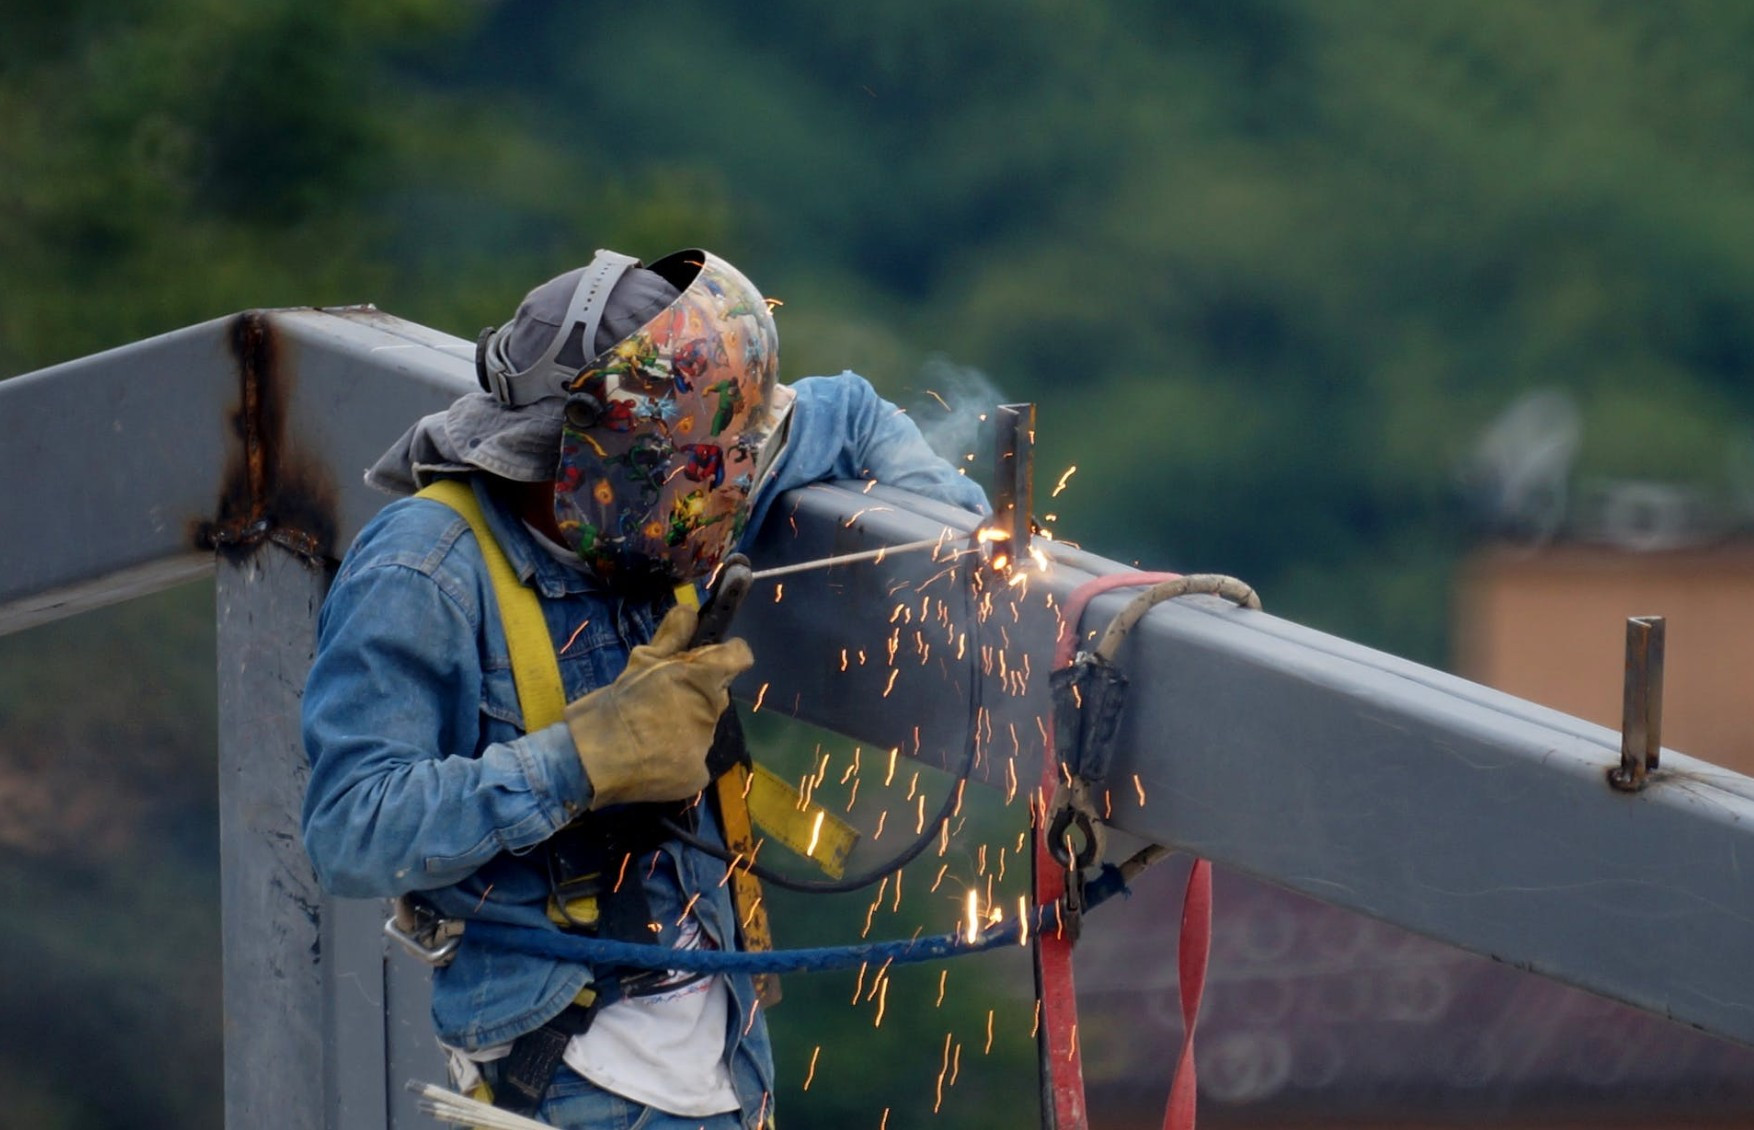
In the thriving world of do-it-yourself (DIY) projects, welding enthusiasts are taking the lead with their creativity and skills. DIY welding projects have gained immense popularity, allowing individuals to craft unique and functional items. From crafting decorative items to building essential tools, the possibilities are endless.
Top 5 DIY Welding Project Ideas
DIY Welding Cart
Welding carts play a pivotal role in any welding workshop, offering mobility and convenience. DIY welding cart designs come in various forms, catering to different needs and preferences.
1. Portable Welding Cart Designs: Perfect for those who need mobility, portable welding carts are lightweight and easy to move around. They're ideal for welding tasks that require shifting locations.
2. Storage-Focused Welding Cart Designs: Storage-focused welding carts are designed with ample space to accommodate welding tools, accessories, and even gas cylinders. These carts ensure that everything you need is within arm's reach.
3. Customizable Welding Cart Ideas: For those who prefer a personalized touch, customizable welding carts allow you to add or remove features based on your requirements. You can tailor the cart to fit your unique set of tools and equipment.
What You'll Need:
Metal Frame: Start by selecting metal pieces for the frame. Angle irons or square tubes work well for this purpose.
Wheels: Choose heavy-duty wheels with locking mechanisms to ensure stability during welding tasks.
Shelves/Storage: Opt for metal plates to create shelves or compartments. Gauge their size according to your equipment.
Handle: A metal handlebar or pipe is the steering and control mechanism.
Welding Equipment: Essential welding tools include a welding machine, welding helmet, gloves, and welding consumables (electrodes, wires, gas, etc.).
Safety Gear: Ensure you have safety gear like gloves, a welding helmet, and appropriate clothing to protect yourself during the welding process.
Steps to Build a Welding Cart:
Frame Assembly: Begin by welding the metal pieces together to form the frame. Double-check the measurements to ensure it’s stable and balanced.
Attaching Wheels: Weld the wheels securely at the base of the frame, ensuring they are evenly placed for smooth movement. Locking mechanisms are essential for safety during welding.
Adding Shelves: Weld metal plates horizontally between the vertical frame pieces to create shelves. Consider the height between shelves based on the size of your welding tools and accessories.
Handle Placement: Attach a metal handlebar at the front or side of the cart. Weld it securely to the frame, allowing for easy steering and control.
Welding Equipment Storage: Designate specific areas on the cart to store your welding machine, helmet, gloves, and other tools. Consider adding hooks or compartments for smaller items.
Reinforcement: Check the cart for stability. If needed, weld additional metal bars diagonally or horizontally underneath the cart to reinforce its structure.
Finishing Touches: Grind any rough edges to avoid injuries. Apply a coat of paint to protect the metal from corrosion and enhance the cart's appearance.
DIY Welding Table
A sturdy welding table is the backbone of any welding project. It provides stability and precision, ensuring your welds are accurate and secure.
1. Folding Welding Tables: Folding welding tables are perfect for small spaces. They offer the flexibility of expanding when needed and folding away when not in use, saving valuable space in your workshop.
2. Adjustable Welding Tables: Adjustable welding tables allow you to alter the height and angle, accommodating different projects and welding techniques. Their versatility makes them a favorite among welding enthusiasts.
3. Compact Welding Tables for Small Spaces: If you have limited space, compact welding tables are your best bet. They are designed to fit into tight corners while providing a stable surface for welding tasks.
What You'll Need:
Metal Tabletop: Start with a thick and sturdy metal sheet as the tabletop. The thickness depends on the intensity of your welding projects.
Legs: Metal pipes or square tubes will serve as legs. Ensure they are of appropriate height and thickness to support the tabletop's weight and the work you plan to do.
Adjustable Mechanism (if applicable): Hinges or adjustable brackets for altering the height and angle of the tabletop, enhancing versatility.
Welding Equipment: Welding machine, safety gear (helmet, gloves, goggles), and welding consumables.
Steps to Build Welding Table:
Tabletop Preparation: Clean the metal sheet thoroughly and remove any rust or debris. If necessary, trim it to your desired size using a metal saw.
Leg Attachment: Weld the metal legs securely to the corners or sides of the tabletop. Ensure they are perpendicular and evenly distribute the weight.
Adjustable Mechanism (if applicable): Attach hinges or brackets if you desire an adjustable table. Ensure they are robust enough to support the weight and allow smooth adjustments.
Reinforcement: To enhance stability, weld additional bars or braces between the legs. These reinforcements will prevent wobbling during welding.
Finishing: Grind down any sharp edges to make the table safe to use. Apply a protective finish, such as paint or clear sealant, to prevent rust and corrosion.
Testing: Test the table for stability and the functionality of adjustable features, ensuring they work smoothly and securely before starting any welding projects.
DIY Welded Wire Fence
Welded wire fences stand as versatile sentinels, enhancing gardens, safeguarding pets, and fortifying security. Their adaptability makes them a favored choice, providing both aesthetic appeal and functional reliability.
Explore Varied Designs
Garden Fencing: Create an enchanting sanctuary for your plants with welded wire, protecting them from intrusive pests while adding charm to your garden.
Pet Enclosures: Forge safe havens for pets, allowing them ample space to frolic without the worry of them wandering off, ensuring their safety and your peace of mind.
Security-Focused Fences: Craft resilient fences with meticulously smaller gaps, enhancing security measures, and making them ideal shields for homes and businesses alike.
Building a Welded Wire Fence:
Planning and Design: Determine the area you want to enclose. Plan the fence layout and height. Choose the appropriate welded wire mesh gauge and style for your specific needs – finer meshes for gardens, larger gaps for pet enclosures, and small gaps for security fences.
Gather Materials: Acquire sturdy metal posts, welded wire mesh, fasteners, and appropriate tools like a post-hole digger, level, and wire cutters.
Preparing the Ground: Dig holes for the posts, ensuring they are deep enough for stability. Place the posts securely in the holes, keeping them level, and fill the holes with concrete for added support.
Attaching the Wire Mesh: Unroll the welded wire mesh along the fence line, attaching it securely to the posts using fasteners. Make sure the mesh is taut and properly aligned.
Securing Corners and Edges: Use additional posts at corners and edges to reinforce the structure. Secure the mesh tightly to prevent sagging or gaps.
Adding Gates (Optional): If you need a gate, install a metal frame and attach the welded wire mesh securely. Install hinges and a latch for functional access.
Regular Maintenance: Periodically inspect the fence for rust or damage. Replace sections as needed to maintain their integrity and security.
DIY Welding Gifts
Creative Welding Gift Ideas
Customized Metal Art: Sculpt intricate metal art pieces that echo the recipient's passions, capturing the essence of their interests with craftsmanship and creativity.
Practical Gift Ideas: Craft functional marvels such as key holders or candle holders, seamlessly blending style and utility. These gifts add a touch of sophistication to everyday items.
Incorporate Hobbies: Blend the recipient's hobbies seamlessly into the design, rendering the gift uniquely theirs. This thoughtful integration adds depth and resonance to the present, showcasing your understanding and care.
Engraved Messages: Elevate your gift with heartfelt messages or names, delicately etched onto the metal. These sentimental touches transform the gift into a cherished memento, connecting emotions with the artistry of metalwork.

Steps to Craft Quality Welding Gifts
Selecting Materials: Choose the metal material based on the gift you want to create. Common options include steel, aluminum, or copper, depending on the project's complexity.
Design and Sketch: Plan the design of your gift. Sketch out the dimensions and details, considering the recipient's interests or preferences for a personalized touch.
Cutting and Shaping: Use appropriate tools such as a metal cutter, grinder, or plasma cutter to cut and shape the metal pieces according to your design.
Welding the Pieces: Assemble the cut pieces and weld them together securely. Ensure strong and clean welds to guarantee the gift's durability.
Adding Personal Touch: Incorporate personal elements like engraving, painting, or polishing. Engrave names, dates, or messages onto the metal surface for sentimental value.
Final Finishing: Smooth out rough edges and polish the metal surface for a refined look. Apply a protective finish to prevent corrosion and enhance the gift's appearance.
Presentation: Package the gift thoughtfully, adding a card or note to convey your sentiments. Present it to the recipient, showcasing your craftsmanship and the effort you put into creating a personalized, meaningful present.
DIY Bike Trailer: Crafting Mobility Solution
Building your DIY bike trailer offers numerous advantages. It allows you to customize the trailer according to your specific needs and preferences. Whether you're an avid camper, a green enthusiast, or simply someone who wants a convenient way to transport goods, a DIY bike trailer can be tailored to suit your exact requirements. Additionally, constructing your bike trailer is cost-effective. It saves you money compared to buying a pre-made trailer, and you can repurpose materials, making it an eco-friendly choice.
Steps to Building a Bike Trailer:
Frame Construction: Begin your project by crafting a robust metal frame. Carefully weld the pieces together, ensuring they are both lightweight for easy maneuverability and durable to withstand the challenges of the road.
Wheel Attachment: Weld the wheels securely to the frame, ensuring they are properly aligned and tightly fastened. This step guarantees smooth mobility across various terrains, providing you with a stable ride.
Cargo Space: Create a spacious cargo area within the frame, allowing you to transport goods or camping gear efficiently. Secure the cargo area to the frame, and for added protection against the elements, consider adding a cover to shield your belongings from weather conditions.
Hitch System: Design a hitch system that is not only reliable but also easy to attach and detach from your bike. A well-crafted hitch ensures a seamless connection between the trailer and your bicycle, allowing for smooth and safe rides.
Finishing Touches: To enhance both safety and aesthetics, take care of the finer details. Smooth out any rough edges to prevent injuries during handling. Apply an anti-rust coating to safeguard your trailer from corrosion, ensuring its longevity. Additionally, adding reflectors enhances visibility, making your bike trailer more noticeable, especially during low-light conditions.

Durability and Safety Tips
Quality Welds: One of the crucial aspects of your DIY bike trailer's durability is the quality of your welds. Ensure all welds are strong and secure. Regularly inspect them, verifying their stability to prevent any unexpected mishaps during your rides.
Weight Distribution: Balance the weight within your trailer evenly. Proper weight distribution prevents accidents, ensuring your bike remains stable and easy to control even when carrying a substantial load.
Regular Checks: Perform periodic inspections of your bike trailer. Look for signs of wear and tear, addressing any issues promptly. Regular maintenance ensures your trailer's longevity and keeps it in optimal condition for all your biking adventures.
DIY Welder Kit: Your Gateway to Welding Expertise
Accessibility and Ease: DIY welder kits make welding easy for beginners and pros alike, removing hurdles and complexities from the learning process.
Comprehensive Tools: These kits bundle essential items like welding machines, safety gear (helmets, gloves), and welding materials, saving you the hassle of searching for individual components.
Gradual Skill Development: With step-by-step guidance, these kits allow you to learn at your own pace. Master basic techniques before moving on to more advanced welding methods.
Enhance Creativity: Armed with the right tools, you can explore a wide range of projects, from art pieces to functional structures. These kits fuel your imagination and let you bring your ideas to life.
Sense of Accomplishment: Completing projects with a DIY welder kit brings immense satisfaction. Each finished piece boosts your confidence, making you a skilled welder one project at a time
Conclusion
In wrapping up, the DIY welding projects we’ve explored open doors to creativity and practical skills. From crafting bike trailers and personalized gifts to assembling welder kits, these endeavors are your canvas. Embrace the hands-on experiences, find joy in creating, and remember, that every weld and every project is a step toward mastering a valuable skill. So, gear up and let your creativity flow in the world of DIY welding – it’s your journey to self-expression and ingenuity!